Showing posts with label tutorial. Show all posts

Thursday, 5 July 2012

Everyone loves a trench... If someone else digs it.

So about 5 minutes after I posted my orchard build, I was immediately contacted and asked when I was doing a trench tutorial... Apparently I wasn't building the right stuff lol.  So with my normal curiosity being what it is I set about coming up with a way to make a trench line and pumped out a prototype in about 20 min.  I really enjoyed the build and it's quickly allowed me to build a set for a couple of strongpoints.  Simple and effective, it's kinda my style and they turned out looking nice as well which probably means I'm going to be doing up a fortified company now.

So I started out with my favorite 8" tongue depressors which would give me a good amount of space to work with and the proper length for the trenches all in one.


From there I cut 1/2 inch pink foam into 8 inch strips that were 1cm wide... Yeah I'm a dual citizen so I can use imperial and metric at the same time... From there I glued these down onto the tongue depressors fairly centrally.


Be careful not to use too much hot glue or get sloppy with it as you'll have to clean up the excess hot glue later. You can see there is a bit of glue that got all over on these. Made my life more fun by having to get in there with a knife and clean it all up to fit the wood barriers and front edge of 'soil'.


From there I trimmed off the top corner. Having done this a bunch of times I can tell you that accuracy is not necessary but helps. Trimming down the top to the half way mark also provides you with the perfect filler for the front of the trench soil.


Taking that front piece and gluing it down with a healthy amount of hot glue gives you the perfect frontage for the trench line.


So you can see you end up with overhang. The depressors wood edge is perfect to follow with a knife. Trim the edges and you are ready for the next step.


I used a sawing motion with the knife and received a clean edge without 'gouging' the foam with a dull point in the knife. 

Sanding down the font made a nice and cohesive surface that would take glue and sand well.  Propping something up under the sandpaper can also help you achieve any special effect or shape in the sanding process. Being to rough can lead to the foam catching and breaking off so be careful.


Here is an example of that happening along the corner. You can either leave it as a battle scared trench or fill it in.


I just took the piece and hit it with a ton of glue and packed the foam back in and then after it had cooled gently sanded it again to bring it back to the nice soft edge I wanted. 


So for the backing of the trench I wanted a classic supported wall with wood beams that would have been commonly used to reinforce the trench from collapse. Simple method, found 8" dowels, stacked them in along one of the trench pieces and found that 7  was the height of the trench and then cut upright pieces to the appropriate height, you can see them in the right hand side of the picture above. 
From there it was simple enough to hold the dowels together tightly while putting a bead of hot glue down them and then pressing the upright into the glue and waiting for it to cool. 


Repeating three or more times per backing ensured I had a solid piece that would look the part. 


I hit the back of the trench with a healthy zigzag of hot glue for a solid connection.


And then held it in place until it had cooled, checking to make sure that it was solidly on and wasn't going anywhere.


This part went fast and only minor trimming/sanding was needed to make sure that the backs matched up with the trenches.


From there I flocked the model before painting and snapped a few pics.


From there a little paint and static grass and the trenches were done. 


The beveled edges that they have from the tongue depressors really make the versatile in their deployment as the just rock off one another. I'm thinking of doing up 20+ of these and making an epic defensive force(not that it will be epic in its amazing game play, just the amount of digging it would have taken to make). 

And now to find another project. 

Until next time.

Tuesday, 3 July 2012

How does your orchard grow?

So I'm a big fan of terrain. I like fighting on a battlefield that looks cool and is interesting to play on, I want the table to look like someplace, not just a random assortment of stuff people dropped on the table.

So with that said I wanted an orchard! I've seen a lot of different ways to do it and some companies like Battlefront have even released their own versions of orchards or Vineyard.

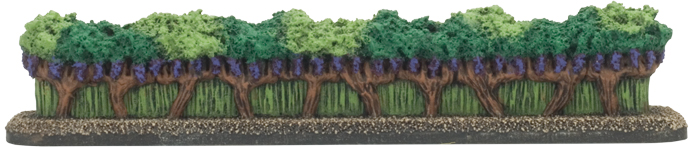
Battlefonts vineyard

And while it got the job done I wasn't the biggest fan of how clunky and well, cartoon like it looked.

So I set about doing something that was as battlefield friendly, a little more in themed with the rest of my stuff and also able to fill the role of tree lines should I want to change it up.


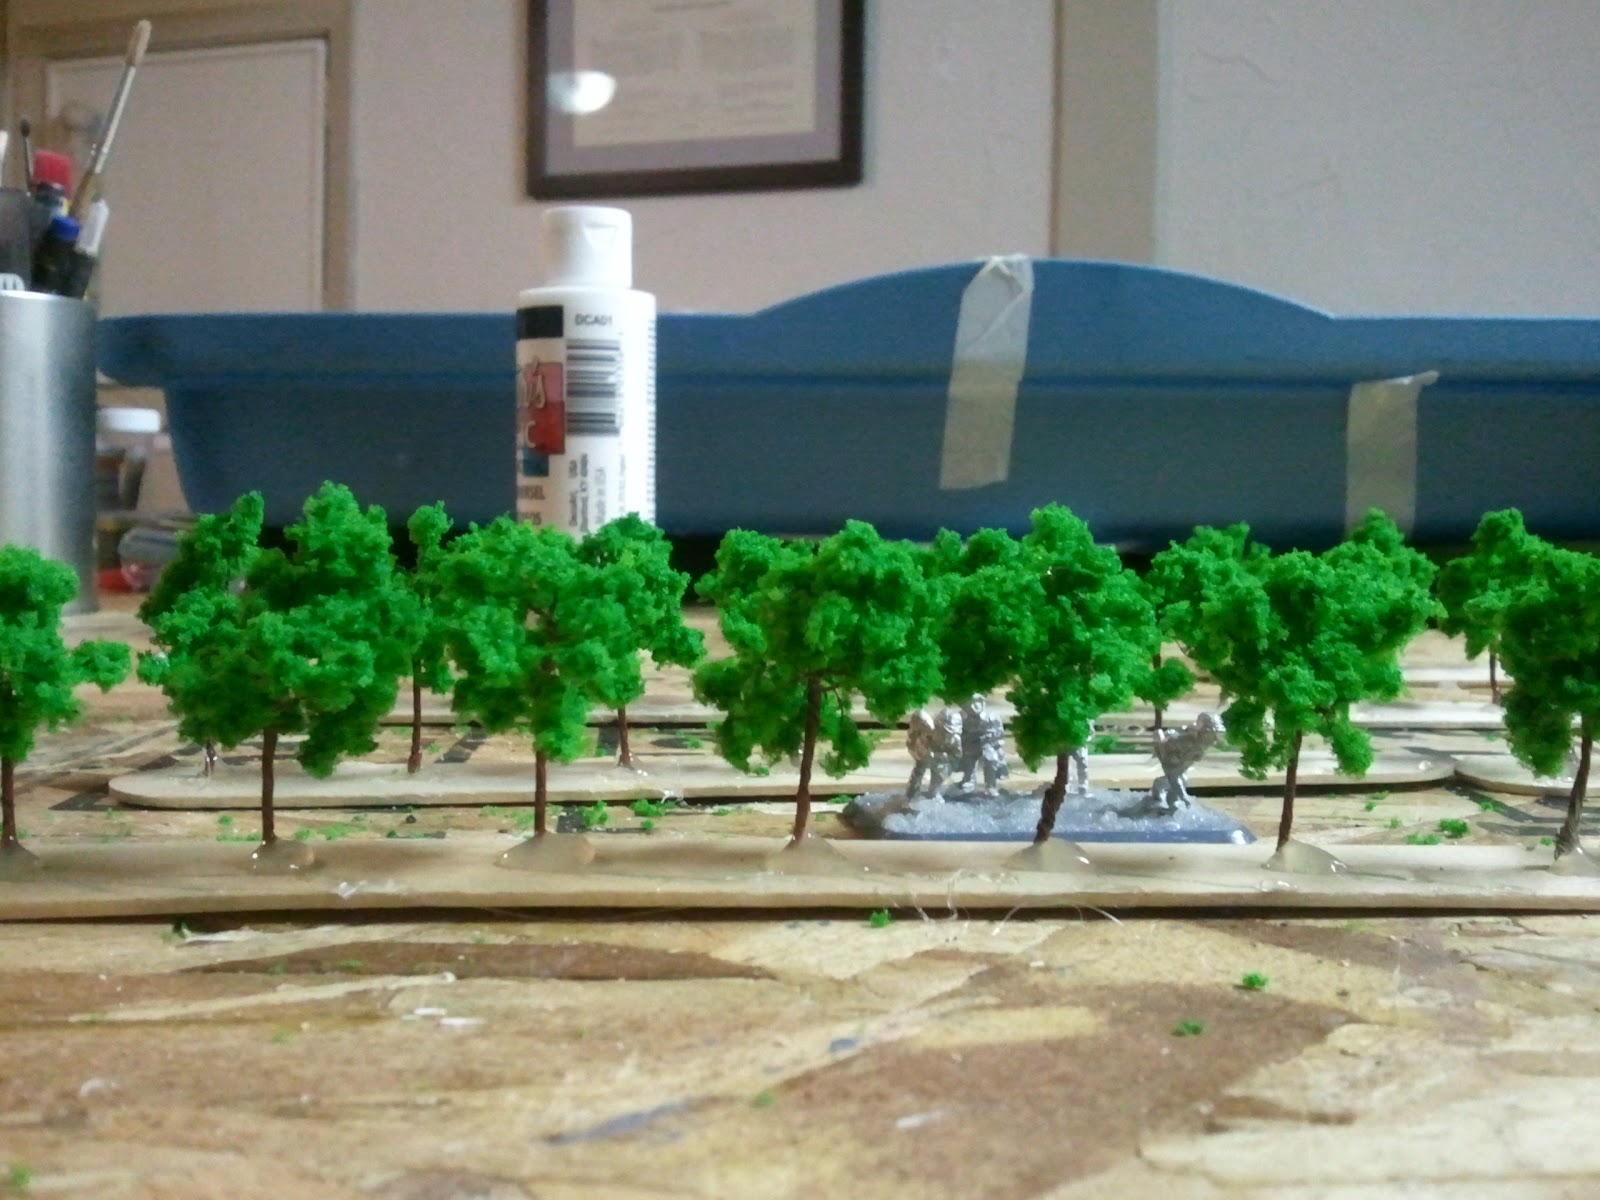
So this is what I came up with. I'm debating if I should make an area terrain marker but every time I think about it I look at them and think, it's pretty clear as to what is in and out of this....


So I'm a fan of simple, simple works... So with this as my guiding principle I looked around the man cave and found some tongue depressors I had picked up for another project. They were 8" in length which for FoW is kinda the perfect length, so I had my base.  I marked these off in a fairly regular interval so that I could drill into the sticks to add some stability for the trees.
I thought about repeating this on all of them (you can see I did a second) and then I thought to myself a jig would work better, especially because I would have to drill all these holes and would need a drill block anyways.

BAM! 20 seconds later and I was in business! Now I could just place a depressor on the block and drill at the hash marks, super quick and efficient.
I started to drill away, inserting the trees I had done up along the way to make sure they fit. Test fitting sped things up, as many of the trees didn't initially fit and needed some additional drilling.
Then to the glue gun! If you haven't already purchased a cordless hot glue gun you can't possibly love terrain, ease of function or again simplicity. I glued all the trees in from both sides, this gave them a great base which again looked like a tree base and ensured the trees weren't going anywhere.
From there it was the simple process of flocking the bases, priming, drybrushing and then adding some static grass.

I really liked the end result. Organized, clean and very much in line with the scale.
Simply arranging them on the board makes for very effective area terrain that looks the part. The dense but organized foliage adds a different look to the table and as you can see it can fit tanks if arranged properly.

 They also easily line roads and make for great tree lines.
I love the look and can't wait to do up a bunch more. They'll make for great Italy and Western Europe tables.

Until next time.